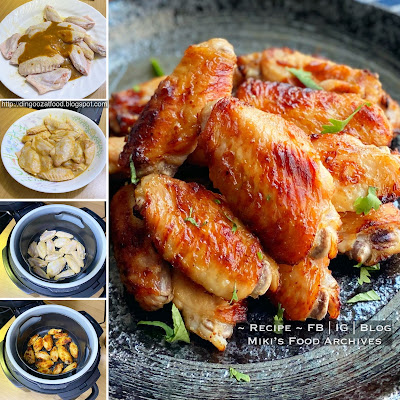
Thinly sliced pork belly coated with thick savoury sauce, packed with a rich umami flavour, this dish goes well with rice and porridge. This is one of my frequently-cooked dishes, previously I've shared the rice cooker, wok, and air-fryer methods. Sharing here on this blog post is another easy method.

Ingredients:


3. Remove the salted fish, set aside. Add in the remaining (B) ingredients, stir fry until fragrant.
加入其余的(B)材料,爆香。
4. Add in marinated pork belly, stir fry until half cooked. Stir in (C), mix well.
材料

If you are sharing this recipe/ blog content, kindly attach the link to this blog instead of screen capture/ copy & paste/ use in your blog. No parts of the content of this blog may be reproduced without prior written permission. All rights reserved. Thank you.
如果您要分享此食谱/内容,请联系这个部落格的相关链接。敬请不要复制或改篇为自己的食谱。谢谢!
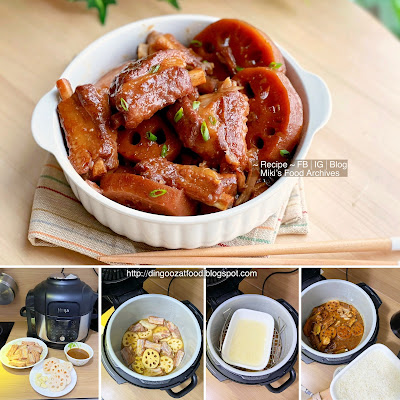
Method: 步骤
1. Add (A) into pork belly, mix well. Cover with cling wrap and let marinate in the refrigerator for at least 2 hours.花肉加入(A),拌均。盖上保鲜纸,放进冰箱腌至少两小时。
300g Pork Belly, sliced 花肉 300克,切片
1 stalks Spring Onion 1 棵青葱
Some oil for cooking 油,适量
(A)
1 tsp Tapioca Flour 木薯粉 1小匙
1 tsp Sesame Oil 麻油 1小匙
1 tsp Shao Xing Hua Tiao Wine 绍兴花雕酒 1小匙
(B)
30g Salted Fish, diced 咸鱼 30克,切粒
3-4 Dried Chili 辣椒干 3-4条
Note:
This recipe is non-spicy and kid-friendly, double the dried chilies amount if you love hot & spicy.
这食谱的咸鱼花腩不辣,适合小朋友的口味。喜欢辣的可以放六条辣椒干。
1 Onion, cut into chunks 洋葱 1粒,切块
5 cloves Garlic 蒜头 5瓣
7 slices Ginger 姜 7片
(C) - add all ingredients to a bowl, mix well. 将所有材料C混合,拌均
1/2 tbsp Light Soy Sauce 酱油 1/2 汤匙
1 tsp Castor Sugar 细砂糖 1小匙
1 tbsp Oyster Sauce 蚝油 1汤匙
1 tbsp Shao Xing Hua Tiao Wine 绍兴花雕酒 1汤匙
1.5 tsp Dark Soy Sauce 黑酱油 1.5小匙
80ml Water 水 80毫升
(D) - add all ingredients to a bowl, mix well. 将所有材料D混合,拌均
1/2 tsp Corn Flour 玉米粉/粟粉 1/2 小匙
1/2 tbsp Water 水 1/2 汤匙
If you are sharing this recipe/ blog content, kindly attach the link to this blog instead of screen capture/ copy & paste/ use in your blog. No parts of the content of this blog may be reproduced without prior written permission. All rights reserved. Thank you.
如果您要分享此食谱/内容,请联系这个部落格的相关链接。敬请不要复制或改篇为自己的食谱。谢谢!
Method: 步骤
1. Add (A) into pork belly, mix well. Cover with cling wrap and let marinate in the refrigerator for at least 2 hours.
2. Add 1/2 tbsp oil to the pot. Add in salted fish. Air-fry 180'C 5mins.
锅里加入少许油,气炸咸鱼180 度5分钟,备用。
3. Remove the salted fish, set aside. Add in the remaining (B) ingredients, stir fry until fragrant.
加入其余的(B)材料,爆香。
4. Add in marinated pork belly, stir fry until half cooked. Stir in (C), mix well.
加入花肉,炒香至半熟。加入(C),拌均。
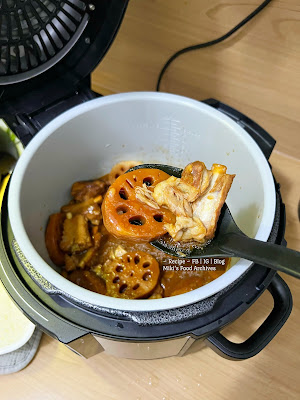
5. Bring to a boil, reduce heat and simmer until the pork is fully cooked. Stir in (D), mix well. Add in salted fish.
大火烧开后转小火,焖至花肉熟透。加入(D),拌均。加入咸鱼。
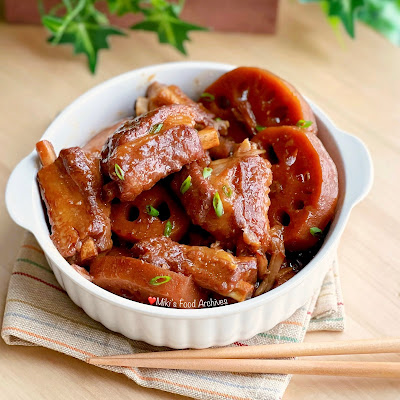
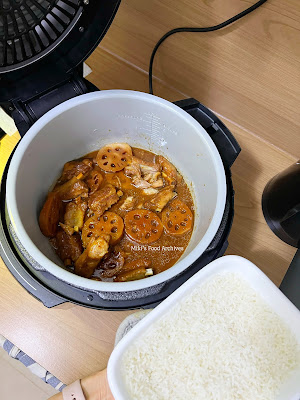
6. When the sauce is thickened and glossy, garnish with spring onion/ coriander, serve warm with steamed rice or porridge.
收汁,加入青葱,即可享用。若喜欢我的食谱,可以LIKE和追随我的面书专页,不要错过最新食谱发布。If you like my recipe, click here, LIKE & follow Miki's Food Archives Facebook page or follow us on Instagram: mfa_dingoozatfood to receive more recipe updates. Don't forget to favourite my pages if you wish to see my post on your news feed.
收汁,加入青葱,即可享用。若喜欢我的食谱,可以LIKE和追随我的面书专页,不要错过最新食谱发布。If you like my recipe, click here, LIKE & follow Miki's Food Archives Facebook page or follow us on Instagram: mfa_dingoozatfood to receive more recipe updates. Don't forget to favourite my pages if you wish to see my post on your news feed.