Click LIKE & follow us on Facebook for recipe updates

COOK WITH LOVE FOR A HAPPY HIM

Singapore home cooking/ baking/ food & recipe blog features more than 500 tried & tested, quick & easy kid friendly recipes with steps by steps tutorial.


Follow us on Instagram: mfa_dingoozatfood


If you're a company looking for possible collaboration, feel free to send me a message via Miki's Food Archives Facebook Fan Page or email to miki9mak@gmail.com


Search This Blog

Thursday, 14 July 2016

Black Chicken Dang Shen Soup (aka Codonopsis Root Black Chicken Soup) 乌鸡党参滋补汤-具有补气养血、增强免疫力等功效


Dang Shen is commonly used in Chinese herbal soup, providing several health benefits, including anti-fatigue, strengthening your immune system, supporting your nervous system, and enhancing blood health. It adds natural sweetness to the soup without an overpowering herbal flavour, making the soup taste good and well-loved by children.


Ingredients: (Yield 2-3 servings)
中文食谱:请在网页的右边点击Translate,然后选择中文翻译

1 Black Chicken 

25g Dang Shen 

1 slice Ginger

5-6 Seedless Red Dates

20g Dried Longan 

10g Wolfberries 

Some salt to taste


If you are sharing this recipe/ blog content, kindly attach the link to this blog instead of screen capture/ copy & paste/ use in your blog. No parts of the content of this blog may be reproduced without prior written permission. All rights reserved. Thank you. 如果您要分享此食谱/内容,请联系这个部落格的相关链接。敬请不要复制或改篇为自己的食谱。谢谢!

Method:

1. Blanch or rinse the chicken with hot boiling water. Place the first four ingredients in the cooking pot. Add 2 litre of hot water.


2.  Bring to a boil, then lower the heat and simmer for 2 hours. Add the remaining ingredients, simmer for 5 minutes and serve warm. 
若喜欢我的食谱,可以LIKE和追随我的面书专页,不要错过最新食谱发布。
If you like my recipe, click here, LIKE & follow Miki's Food Archives Facebook page or follow us on Instagram: mfa_dingoozatfood  to receive more recipe updates. Remember to favourite my pages if you wish to see my posts on your news feed. 
Enjoy!


SaveSaveSaveSave

Wednesday, 13 July 2016

Cold Soba With Homemade Honey Soy Sesame Dressing 蜜汁麻油冷面


A simple yet really delicious cold soba seasoned with homemade honey soy sesame dressing. Light and refreshing, that's how I describe the taste! 

This is slightly different from the cold soba with dipping sauce (click here for the recipe)  that I previously shared. This recipe is a lot easier to prepare because there's no need to cook the sauce. Just mix and toss! ;)

Ideal for packing for kid's lunchbox/ bento:


Cha Soba, seasoned with honey soy sesame dressing. 
Served with egg and unagi for my 7yo snack during school recess.

For more recess food/ kids lunch box/ snacks ideas, 
click here, follow Miki's Food Archives's facebook fan page to receive recipe updates. 

Created on 14 July 2016.

Made this for the boy's breakfast bento - Cold Soba Noodles with honey soy sesame dressing along with air-fried fish fillet, hash browns, sweet corn and oat milk hot chocolate.  
Photo updated: March 2023

Light and refreshing Cold Soba Noodles with honey soy sesame dressing,
added some baby spinach for the kiddo   

Photo updated: May 2023

Ingredients:
中文食谱:请在网页的右边点击Translate,然后选择中文翻译。

Soba/ Cha Soba

Honey Soy Sesame Dressing:

1 portion of Sesame Oil

1 portion of Soy Sauce

1 portion of Honey

Note: 2 tsp soy sauce + 2 tsp sesame oil + 2 tsp honey for 1 small serving.

Garnish:

Some chopped spring onion

Some toasted sesame seeds

Some shredded seaweed


If you are sharing this recipe/ blog content, kindly attach the link to this blog instead of screen capture/ copy & paste/ use in your blog. No parts of the content of this blog may be reproduced without prior written permission. All rights reserved. Thank you. 

如果您要分享此食谱/内容,请联系这个部落格的相关链接。敬请不要复制或改篇为自己的食谱。谢谢!


Method:

1. Cook the soba as directed in the package instruction. Reduce 1 minute cooking time. Meanwhile, prepare the dressing by mixing all the honey soy sesame dressing ingredients until well combined. Set aside.

2. When the cooking is done, transfer the soba noodle into a sieve, throw in some ice cubes and rinse under running water (filtered water) for 1 minute. 

3. Drain. Toss in the honey soy dressing. Make sure the soba noodles are well coated. Garnish with spring onion, toasted sesame seeds and seaweed. Serve chill. 

Note: Shake off the excess dressing if this is to be served later, or else the soba noodles may turn soggy. Or if you're packing this for an older kid or grown-up, pack the dressing separately, and toss it in right before serving. 

If you like my recipe, click here, LIKE & follow Miki's Food Archives Facebook page to receive more recipe updates. Don't forget to favourite my pages if you wish to see my post on your news feed. Enjoy!

Some feedback from those who have tried this recipe:


By Quek Seok Bin
By Quek Seok Bin

Tuesday, 12 July 2016

Red Dragonfruit Soft Bread 火龙果软面包(中种面团)


Making pink bread with natural colour from fruits is quite challenging because the natural colour from the fruits tends to fade or change after baked. 

I have tried beetroot for red but turned out orange, blue peas flowers for blue but turned out greyish...


Blue Peas Flower bread


 and red dragon fruit for pink loaf but turned out yellow. 


First attempt ~ I was so happy when I see pink at the edges, but....


....too bad, the inside is not pink! ~ First attempt.
This photo was taken on day 4. Still very soft on day 4. 


Although I have failed badly, I never give up because this bread taste really good and very soft. So I have decided to try again, made small buns instead of big loaf, baked with low temperature, shorten baking time. And, yes....this time, I have succeeded! Pink soft buns, nice colour, taste great! 

Here's the video to show how soft is the bread....on day 2 :) 


All pink! 

Ingredients: (yield 10 buns)


(A) 
200g Bread Flour 高筋面粉 200克
4g Instant Yeast 快速酵母 4克
16g Milk Powder 奶粉 16克
25g Egg (lightly beaten) 全蛋 25克
50g Red Dragonfruit (cut into small chunks) 火龙果 50克(切小块)
90g Milk (plain/ strawberry milk) 牛奶(原味或草莓口味) 90克

(B)
70g Bread Flour 高筋面粉 70克
40g Sugar 砂糖 40克
About 1tsp Salt 盐 1小匙
35g Milk 牛奶 35克

(C)
30g Butter (softened) 牛油 30克


If you are sharing this recipe, kindly attach the link to this blog instead of screen capture/ copy & paste/ use in your blog and claimed as your recipe! Thank you.

如果您要分享此食谱,请联系这个部落格的相关链接。敬请不要复制或改篇为自己的食谱。谢谢!


Method:


1. Mix (A) to form a dough. Cover with cling wrap and let it proof for 60 minutes.

中种面团(A)所有材料一起搅拌,至所有材料混合均匀即可,第1次发酵60分钟。

2. Cut (1) dough into smaller pieces, add in (B) and knead to combined. Gradually knead in (C) until the dough is smooth and elastic.

将发酵好的中种面团撕成小块,和主面团材料(B)一起搅拌均匀。再加入(C),揉至光滑有弹性。

3. Cover with cling wrap and let it proof for 40 minutes. 

进行第2次发酵40分钟。

4. Transfer the dough on worktop, deflate and divide dough into 10 portions and roll into balls. Cover and let it sit for 10 minutes. 

将面团分成10份, 搓圆、休面10分钟。

5. Roll out the dough and roll into balls, transfer to a lightly greased/ lined baking tray. Cover and let it proof 50-60 minutes. 

擀成长条形卷起,搓圆,排入烤盘。最后发酵50-60分钟


6. Egg wash and bake in a preheated oven 160'C for 12-15minutes. 

刷上蛋液。放进预热160C烤箱、烤12-15分钟。若喜欢我的食谱,可以LIKE和追随我的面书专页,不要错过最新食谱发布。

If you like my recipe, click here, LIKE & follow my facebook page to receive more recipe updates. Don't forget to change the setting to 'SEE FIRST' if you wish to see my post on your Facebook news feed. Enjoy!


Some feedback from those who have tried this recipe:


By Joni Lian

Sunday, 10 July 2016

Fresh Mint Sorbet (no churn/ no ice cream maker recipe) 薄荷柠檬雪葩/雪糕


Frosty mint sorbet with a hint of lemon juice, this light and refreshing sorbet is a perfect frozen treats on a sweltering day. 


Recipe adapted from this Lemon Sorbet recipe. 


Ingredients:

40g Fresh Mint Leaves (coarsely chopped)

170g Rock Sugar 

2 cups Water

1/4 cup Freshly Squeeze Lemon Juice

Few drops of Mint Extract

Some green food colouring (optional)


If you are sharing this recipe, kindly attach the link to this blog instead of screen capture/ copy & paste/ use in your blog and claimed as your recipe! Thank you.

如果您要分享此食谱,请联系这个部落格的相关链接。敬请不要复制或改篇为自己的食谱。谢谢!

Method:


1. Place mint leaves, rock sugar and water in a saucepan, bring to boil and simmer until sugar dissolved. 

2. Set aside to cool. Strained.

3. Stir in lemon juice, mint extract and food colouring (if using). Transfer to a freezer safe container, freeze overnight.

4. Blend into sorbet consistency, serve immediately or freeze for later.

If you like my recipe, click here, follow my facebook page to receive more recipe updates. Don't forget to change the setting to 'SEE FIRST' if you wish to see my post on your Facebook news feed. Enjoy!


Wednesday, 6 July 2016

Lotus Seeds & Longan Black Chicken Soup 乌鸡桂圆莲子汤-温中健胃,补心长智,养血安神


This black chicken soup is especially good for those who always stay up late or children who don't sleep well at night. It helps to improve blood cells regeneration and promote Qi flow in the body. 

The method that I'm sharing here is pressure cooker method. If you do not have a pressure cooker, just boil and simmer for 2 hours in a conventional pot. If cooking in a slow cooker or double boil, cook for 4 hours. 


Ingredients:

If you are sharing this recipe, kindly attach the link to this blog instead of screen capture/ copy & paste/ use in your blog and claimed as your recipe! Thank you.

如果您要分享此食谱,请联系这个部落格的相关链接。敬请不要复制或改篇为自己的食谱。谢谢!


(A)


1 Black Chicken (skinless) 

20pcs Lotus Seeds 

1 slice Ginger

5 Seedless Red Dates

800ml Hot Water or until 1/3 full, just enough to cover all the ingredients)

(B)

20g Dried Longan 

10g Wolfberries 


 Salt (add to taste, optional)


Method:

1. Wash the chicken, immerse in hot boiling water for 5 minutes. Discard the water.


2. Put all ingredients (A) in the pressure cooker. I am using 4.5L WMF Perfect Pro pressure cooker.


3. Close with the cover and set the knob to 1.


4. Use medium heat until the cooking indicator rises to the 1st orange ring.


5. Reduce heat to low and let it cook for 30 minutes.

6. When the cooking is over, turn off the heat. Wait till the indicator (orange ring) go down or turn the knob to lock/unlock to release pressure. When there's no more pressure, open the cover.


7. Add (B) and some salt to taste. Repeat step 3 to 5, cook for 15 minutes. Continue with step 6.


8. Serve warm.

If you like my recipe, click here, follow my facebook page to receive more recipe updates. Don't forget to change the setting to 'SEE FIRST' if you wish to see my post on your Facebook news feed. 


Tuesday, 28 June 2016

Mashed Banana Fritters aka Jemput-Jemput Pisang/ Kueh Kodok 炸QQ香蕉球


Mashed Banana Fritters aka Jemput-jemput Pisang or Kueh Kodok was my school times favourite snacks sold at the Malay stalls. The traditional recipe uses just plain flour, banana, sugar, baking powder and salt. The texture is more solid, dense and crumbly. 


I like the traditional one when I was younger. Now I'm no longer a teenager with such good metabolism, eating such heavy food will last me whole day that I can't enjoy other food. Sad right? So I would prefer less oily and lighter food. Craving for this deep fried fritters but don't want heavy food? I must think out-of-the-box and do my food experiment again!


This recipe is especially customised for myself. Uses the mixture of 3 kinds of flour - Self Raising Flour, Rice Flour and Glutinous Rice Flour, yield puffy fritters, crispy from the outside and chewy in the inside. And most importantly, these fritters are not oily at all. I am so delighted to have created this awesome recipe and it's definitely the one that I'll be keeping and using again and again. 


Love the crispiness of this puffy banana fritters and it's chewy texture in the inside. 


Ingredients: 


1 Ripe Banana (peeled and mashed) 熟透的香蕉 1 条(压成泥)

1 tbsp Sugar  糖 1汤匙

Pinch of Salt 盐 少许

20g/ 2tbsp Self Raising Flour  20克 自发粉

10g/ 1tbsp Rice Flour 10克 粘米粉

*10g/ 1tbsp Glutinous Rice Flour 10克 糯米粉

Some oil for frying 油


Note: If you like it less chewy, replace *glutinous rice flour with self raising flour.


If you are sharing this recipe, kindly attach the link to this blog instead of screen capture/ copy & paste/ use in your blog and claimed as your recipe! Thank you.

如果您要分享此食谱,请联系这个部落格的相关链接。敬请不要复制或改篇为自己的食谱。谢谢!


Method:

1. Mix all ingredients in a bowl. 
把全部材料搅拌均匀。

2. Heat up oil in a saucepan to 160-170'C. Scoop the batter and carefully pour into the hot oil. 
烧热油,小心的把面糊分次倒入锅里。

3. Deep fry until golden brown. Enjoy!
炸至金黄色即可享用。若喜欢我的食谱,可以LIKE和追随我的面书专页,或追随 Instagram: mfa_dingoozatfood ,不要错过最新食谱发布。
If you like my recipe, click here, LIKE & follow Miki's Food Archives Facebook page or follow us on Instagram: mfa_dingoozatfood  to receive more recipe updates. Don't forget to change the setting to 'SEE FIRST' if you wish to see my post on your Facebook news feed. Enjoy!


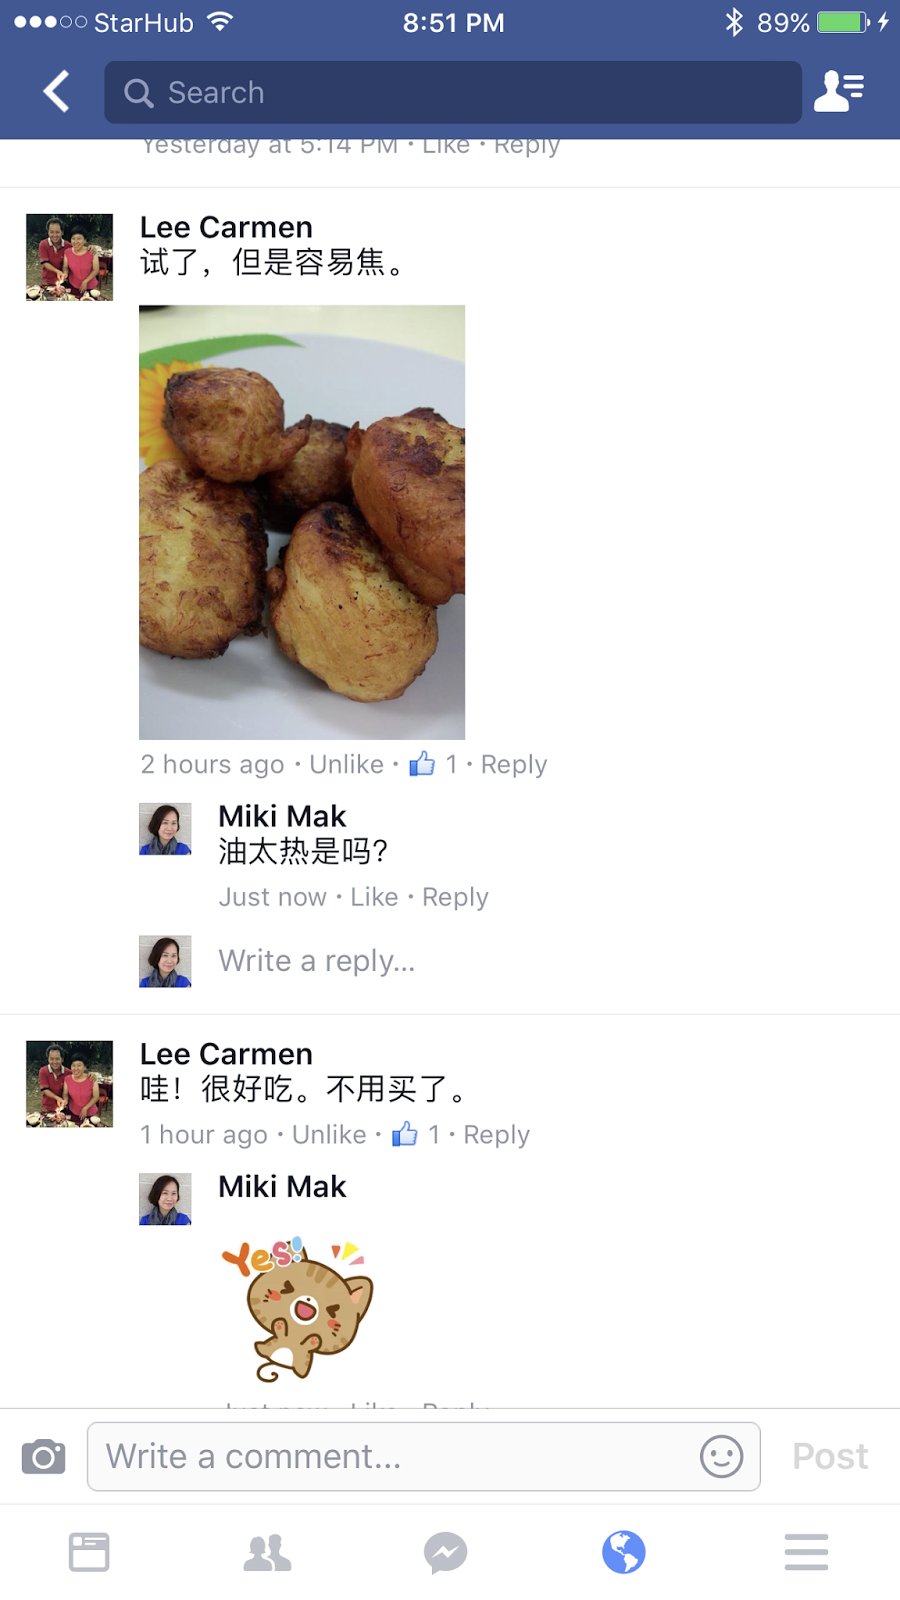
Some feedback from those who have tried this recipe:


By Lee Carmen
By Zaliha Rashid


By Carol Koong 

By Wai Lin Yip 


Related Posts Plugin for WordPress, Blogger...