Click LIKE & follow us on Facebook for recipe updates

COOK WITH LOVE FOR A HAPPY HIM

Singapore home cooking/ baking/ food & recipe blog features more than 500 tried & tested, quick & easy kid friendly recipes with steps by steps tutorial.


Follow us on Instagram: mfa_dingoozatfood


If you're a company looking for possible collaboration, feel free to send me a message via Miki's Food Archives Facebook Fan Page or email to miki9mak@gmail.com


Search This Blog

Sunday, 4 January 2015

C Cup Soft Bread 超软C-Cup甜面包


My sexy bread! lol...


Super soft and fragrant. Very little yeast is used in this recipe. The whole process from proofing to baking took about 6 hours to complete. 

[Year 2015] My little picky eater has a very good tastebud. Whenever I tried to bake those 40 minutes or 50 minutes bread recipes, he never asked for 2nd bite (the first bite would stay in his mouth for a very long....), but these 6 hours bread, he ran to me and asked for more! and his review is: 'nice, mommy, very very nice. Next week please make this again'.

The method is simple, the original recipe is five thousand dollar bread but I changed some of the ingredients and method that the bread turned out to be more fluffy than my first bake which follow exactly the original recipe. But this recipe required longer proofing time. So, whoever happened to read my blog here and wants to try this beautiful bread, spare the time and you'll get to taste this lovely and yummy C Cup Bread! :)


Added some charcoal powder to make these lovely naturally coloured soft bread.
Click here for Charcoal Soft Bread recipe. 


The charcoal version tried & tested by reader - Tammy Tng 

By Tammy Tng 


Ingredients:


(A)
105g Bread Flour 高筋面粉 105克

45g Cake Flour 低筋面粉 45克

12g Castor Sugar 糖 12克

3/4 tsp Instant Yeast  即溶酵母 3/4 小匙

(B)
120g Warm Water (just a little warm when touched by hand) 温水 120克

(C)
105g Bread Flour 高筋面粉 105克

33g Cake Flour 低筋面粉 33克

12g Top Flour 特幼面粉 12克 (如果没有,也可以用低筋面粉代替)

55g Castor Sugar 糖 55克

1/2 tsp Salt 盐 半小匙

12g Milk Powder 奶粉 12克

(D)
45g Egg (lightly beaten egg, reserved some for egg wash) 鸡蛋 45克 (打撒)

25g Water (at room temperature) 水 25克 (室温)

(E)
40g Unsalted Butter (softened) 无盐牛油 40克 (软化/室温)

Revisit this old recipe, we still love these super uber fluffy and soft bread
made using my dad's homemade pork floss. 
Click here to view <<Homemade Pork Floss Recipe>>
Photo updated: February 2023

Another batch of fluffy meat floss bread made using my dad's homemade pork floss. 
Photo updated: June 2024

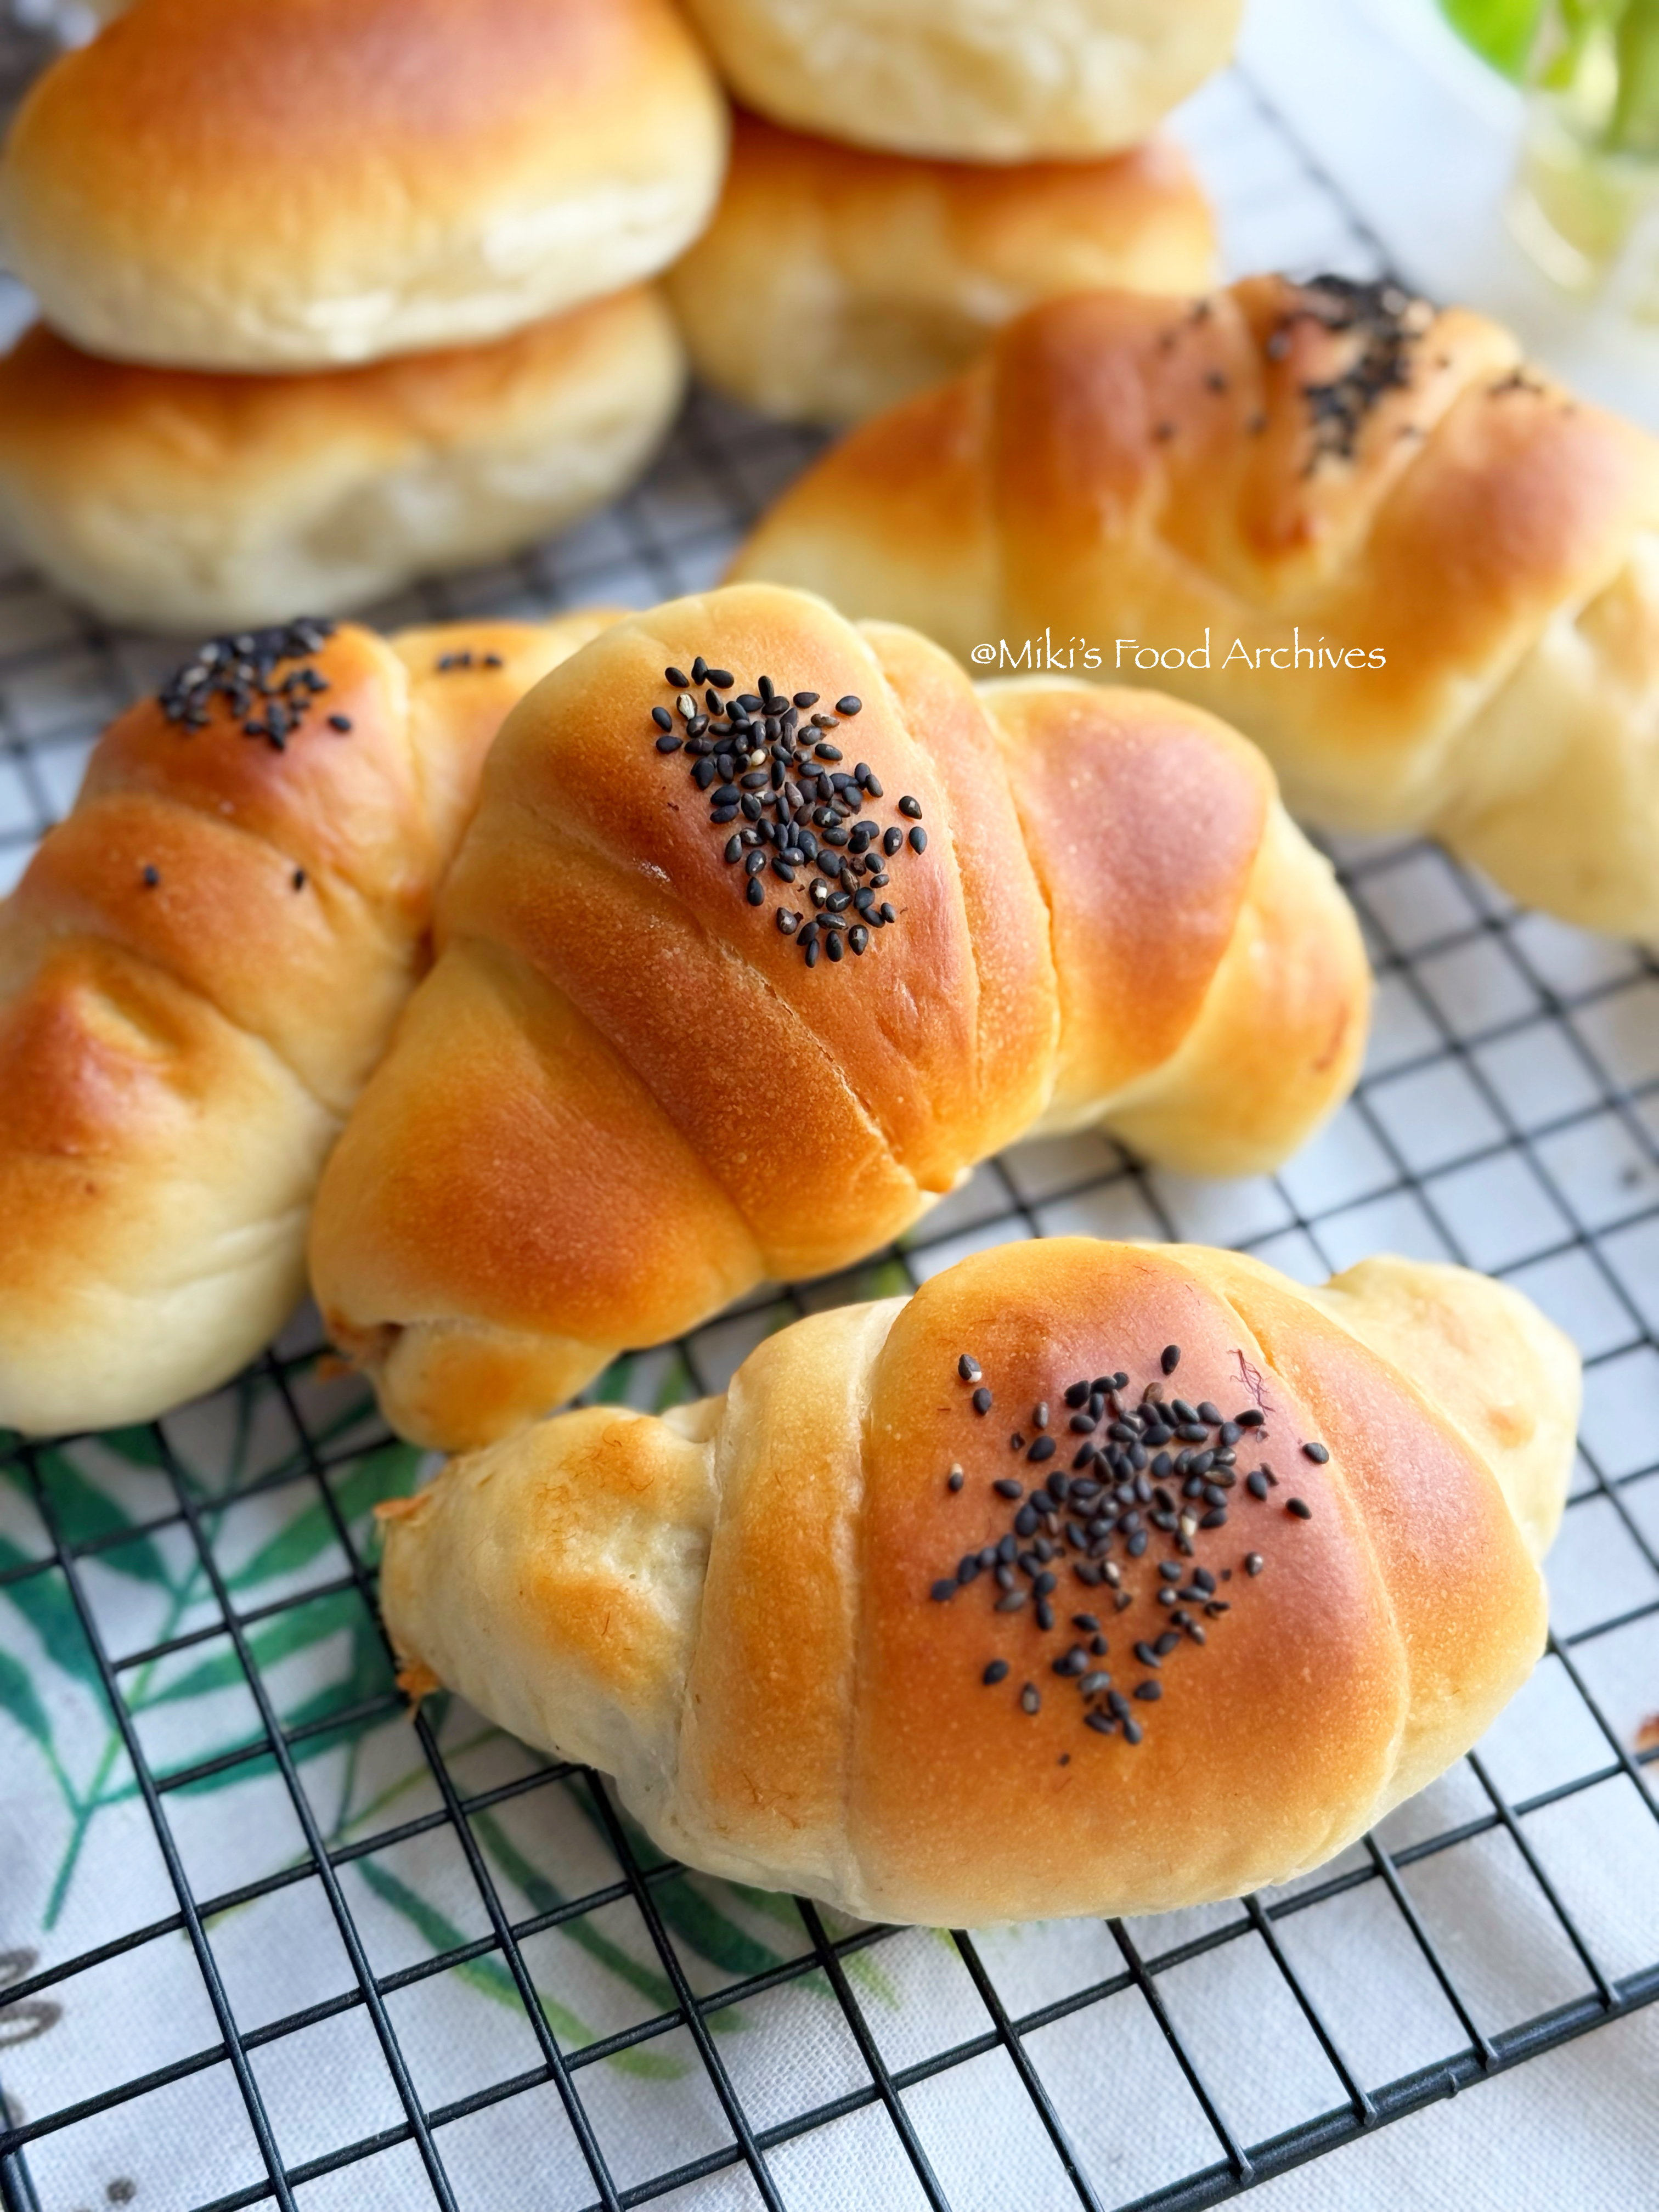
Soft Bread Rolls made using the same recipe, filled with homemade seaweed pork floss. 
Photo updated: Feb 2025


If you are sharing this recipe, kindly attach the link to this blog instead of screen capture/ copy & paste/ use in your blog and claimed as your recipe! Thank you.
如果您要分享此食谱,请联系这个部落格的相关链接。敬请不要复制或改篇为自己的食谱。谢谢!

Method:

1. Mix (A) in a mixer bowl. Add in (B). Use a spoon or mixer's dough hook to mix until it form a sticky dough. This is the starter dough. Cover the bowl with cling wrap and let it rest for about 2.5 hours.

把(A)混合,加入(B) 搅拌均匀。盖上保鲜纸,室温待发至浮现蜂窝状,大概两个半小时。


2. Monitor closely after 2 hours. When you see the 'bubbling' effect and the centre of the dough starting to topple, that's the time to add in (C) and (D).
当面团的中心开始下陷时(待发大概两小时后就要注意看看),加入(C) 和 (D)。

注意:材料(C) 和(D) 必须分别放在碗里混合了才加入。


3. In a bowl, mix together (C) ingredients. In another bowl, mix together (D) ingredients. When the starter dough is ready, add in (C) and (D)


4. Mix until it forms a shiny dough. (For KitchenAid mixer, use the dough hook, speed 2 for 5 minutes. This can be done by hand too, my sister tried hand kneading the dough, according to her, it's very sticky at this stage, but it'll be pliable after a while)
揉至表面光滑。


5. Knead in (E) gradually and continue to knead until it passes the membrane stage. My mixer took about 10 minutes of kneading time).
分两次加入牛油,揉至面团能拉出薄膜(请看下图)。


At this stage, the dough is elastic and not sticky.
6. Cover and let it proof for 1.5-2 hours. Remove from the bowl and place the dough on a lightly greased worktop. Deflate and shape as desired. Place the dough on a lightly greased baking tin. Let it proof doubled in size, about 1 hour. There are no in-progress photos of how I shaped the dough because I was charging my phone :)
盖上保鲜纸,发酵至双倍大。取出,排气,造型,放在已涂过油的烤盘上,进行最后发酵。


This is how it looks like after 1 hour.


7. Preheat oven 200'C. Egg wash and add on some toppings as desired.
预热烤箱200度。发酵完成后,涂蛋液。


Left: Topped with Demerara sugar and chopped almond
Right: Filled with Homemade Pork Floss and topped with some white sesame seeds.
8. Place the bread into the oven, 2nd rack from the bottom. Reduce temperature to 170'C and bake for 15-20 minutes. This method helps the bread to RISE to the MAX! 
放进已预热的烤箱,把烤箱的温度调至170度,烘烤15-20 分钟。


From A Cup....(small)

....to C Cup (BIG) lol...


9. Remove from oven. Brush some butter on top.
烘烤完毕后,把面包取出。


10. Remove the bread from the baking tin. Let it cool completely on the rack.
出炉后,刷些牛油。


11. It's ready and time to enjoy the delicious bread! :)  
倒扣取出面包,放在架上。待凉后即可享用。
若喜欢我的食谱,可以LIKE和追随我的面书专页,不要错过最新食谱发布。If you like my recipe, click here, LIKE & follow Miki's Food Archives Facebook page or follow us on Instagram: mfa_dingoozatfood  to receive more recipe updates. Don't forget to favourite my pages if you wish to see my post on your news feed. 


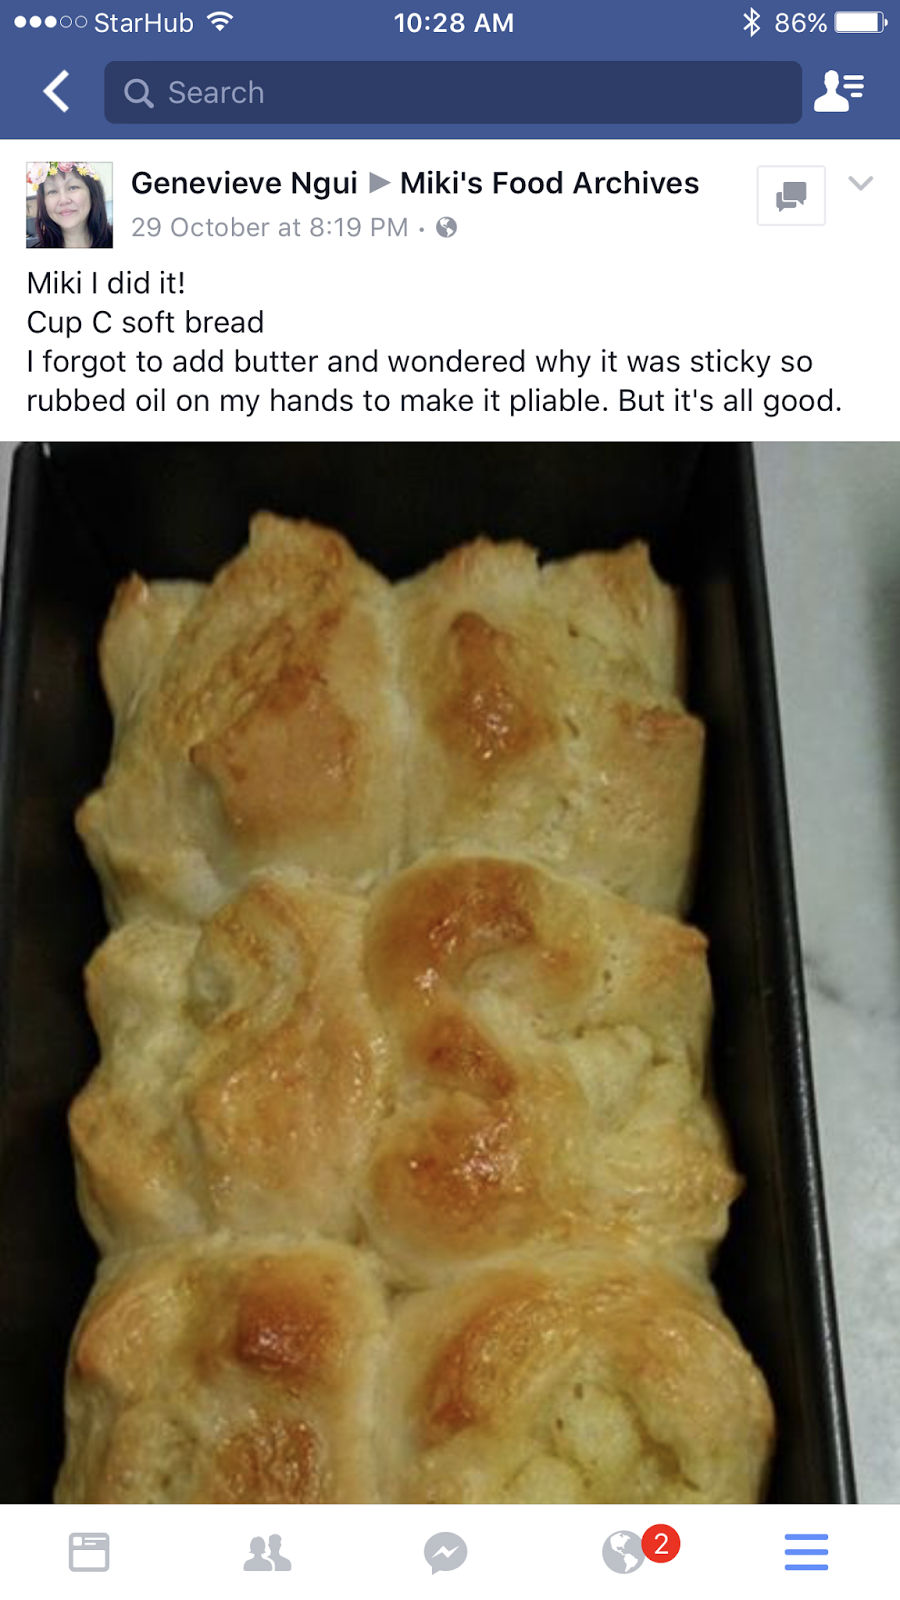
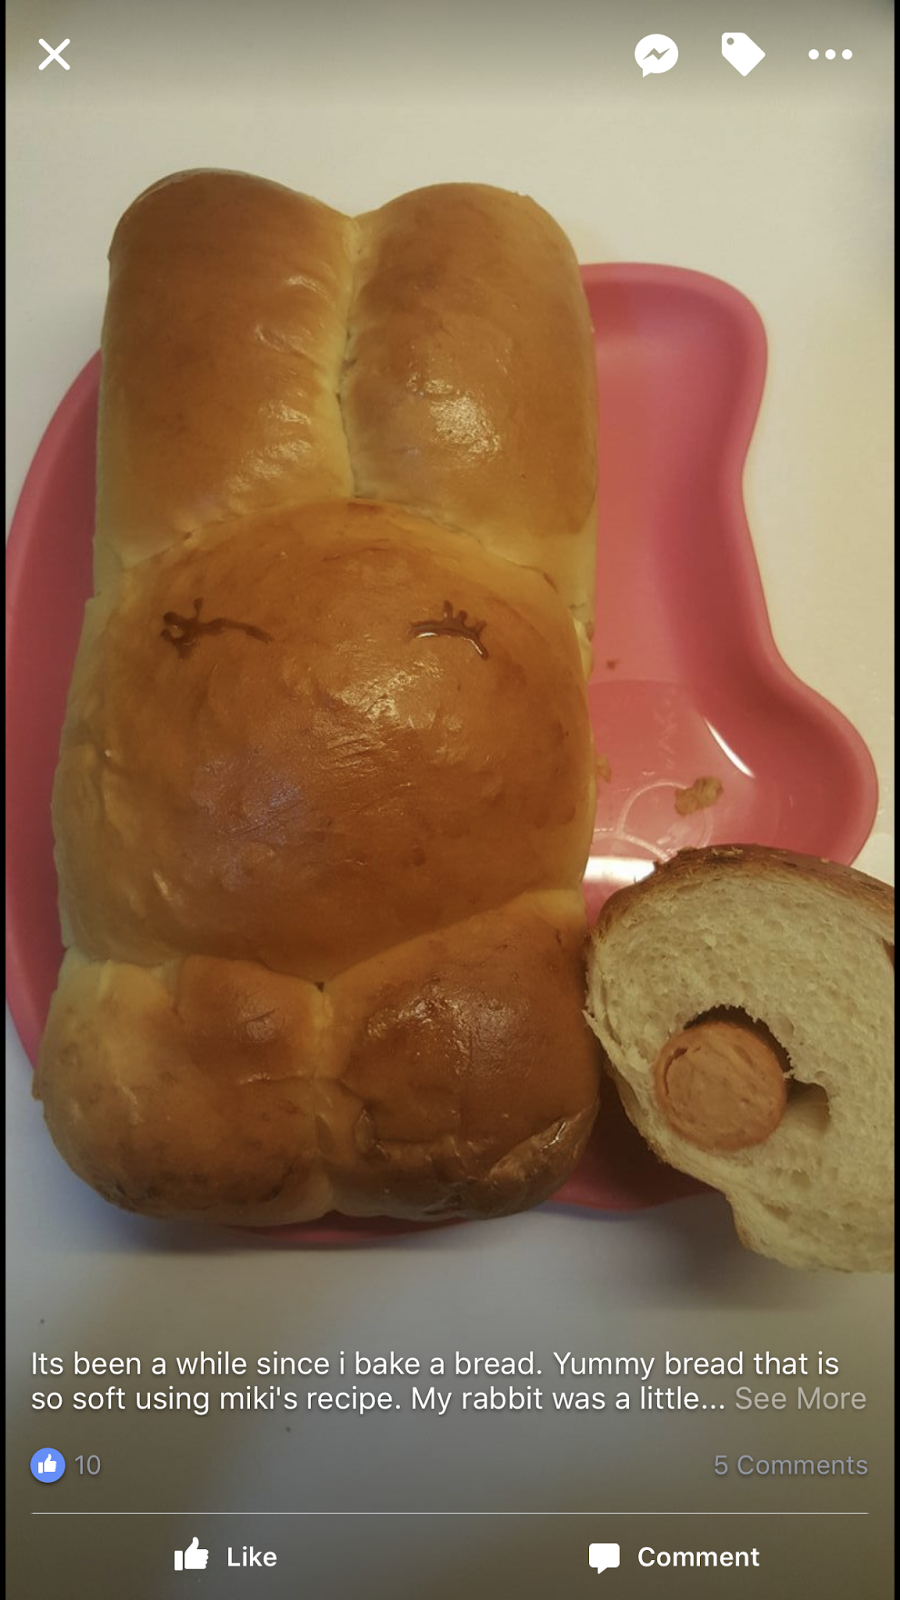
Some feedback from those who have tried this recipe:


By May Gan
By Agnes Tan

By Catherine Kong

By Catherine Kong


By Claire Lim

By Claire Lim

By Margaret Too

By Margaret Too
By Catherine Kong
By 芳城
By Genevieve Ngui
By Tammy Tng 

By Tammy Tng 
By Jacelyn Pang

By Jacelyn Pang


Thursday, 1 January 2015

Homemade Soft Gummy 自制果汁软糖

Rose Flavor, made with rose syrup

Apple Flavor, made with apple juice
I love gummies and so as my son, but I do not buy gummy bears so often because once we started to eat, we can't stop until we finish the gummies. Everyone knows, gummy bears aren't good for health even though it labelled as 'all natural ingredients'!

I browsed through the web and found some gummy bear recipes made with fruit juice. I tried one of the recipe, made with apple juice. It turned out springy but it's a little hard. So I modified the recipe and made again with rose syrup. This time, it's soft and springy. The rose syrup flavor is awesome. The texture is NOT 100% like store bought gummy bear because it's less 'chewy'. It's more like a hard konyaku jelly that is more springy. I don't categorized this as healthy snack because of the gelatin used in this recipe. But, it's simple to make and I make it as a treat for my little boy. 

The good thing is....I know exactly what I'm feeding him, without the long list of unknown ingredients labelled on the store bought gummy bears!

The recipe share in this blog is Rose Syrup flavor. You may substitute the liquid amount to fruit juice of your preference. Do add some sugar or honey to taste :)


Ingredients:

If you are sharing this recipe, kindly attach the link to this blog instead of screen capture/ copy & paste/ use in your blog and claimed as your recipe! Thank you.

如果您要分享此食谱,请联系这个部落格的相关链接。敬请不要复制或改篇为自己的食谱。谢谢!

40g Water 
10g Gelatin Powder


75g Rose Syrup (can be reduced for less sweet gummy)

Method:
1. Add water in a small bowl. Sprinkle gelatin powder and let it rest for 5 minutes.
2. Place the bowl in a bigger bowl/ pot of hot water. Stir until the gelation is fully dissolved.


3. Remove from the hot water. Let it cool a little and stir in rose syrup.


4. Pour into silicone mould. Cover and store in the fridge for at least 3-4 hours or until it's set.


5. Remove from the mould and enjoy! Store the leftover gummy back in the fridge. 


Korean Pineapple Sauce Pork Ribs 韩式凤梨酱猪小排


This is one of my favourite pork rib recipes, simply because it's really easy and fuss-free. Just marinate the pork ribs with ready-to-use sauce and cook!


Starts with Sous Vide and finishes with a quick grill. The meat turned out super tender and succulent, slightly charred on the outside. If you have a pressure cooker, you can pressure cook to tenderise the pork ribs before grilling. Verdict: both Sous Vide and Pressure Cook results are much better and tastier than oven-roast ribs. 


Ingredients: 

中文食谱:请在网页的右边点击Translate,然后选择中文翻译


1 slab Baby Back Ribs


Some toasted sesame seeds

Marinade:


1/2 cup Korean Pineapple BBQ Sauce


2 tsp Tapioca Flour


Some Black Pepper


If you are sharing this recipe/ blog content, kindly attach the link to this blog instead of screen capture/ copy & paste/ use in your blog. No parts of the content of this blog may be reproduced without prior written permission. All rights reserved. Thank you. 

如果您要分享此食谱/内容,请联系这个部落格的相关链接。敬请不要复制或改篇为自己的食谱。谢谢!


Method:

1. Combine marinade ingredients and pork ribs, marinate for 2 hours. 
Add 2.5 litre of water into the pot, prepare SOUS VIDE 74'C.

2. Place the pork ribs in sous vide bag without overlapping, sealed. Place the bag in the pot, SOUS VIDE 74'C 4 hours.


3. When it's ready, coat the pork ribs with some sauce, grill the ribs for 8-10 minutes, baste halfway. Garnish with some sesame seeds and serve right away. Alternatively, you can bake/ roast or air-fry the pork ribs.
若喜欢我的食谱,可以LIKE和追随我的面书专页,不要错过最新食谱发布。If you like my recipe, click here, LIKE & follow Miki's Food Archives Facebook page or follow us on Instagram: mfa_dingoozatfood  to receive more recipe updates. Don't forget to favourite my pages if you wish to see my post on your news feed. 


Related Posts Plugin for WordPress, Blogger...